
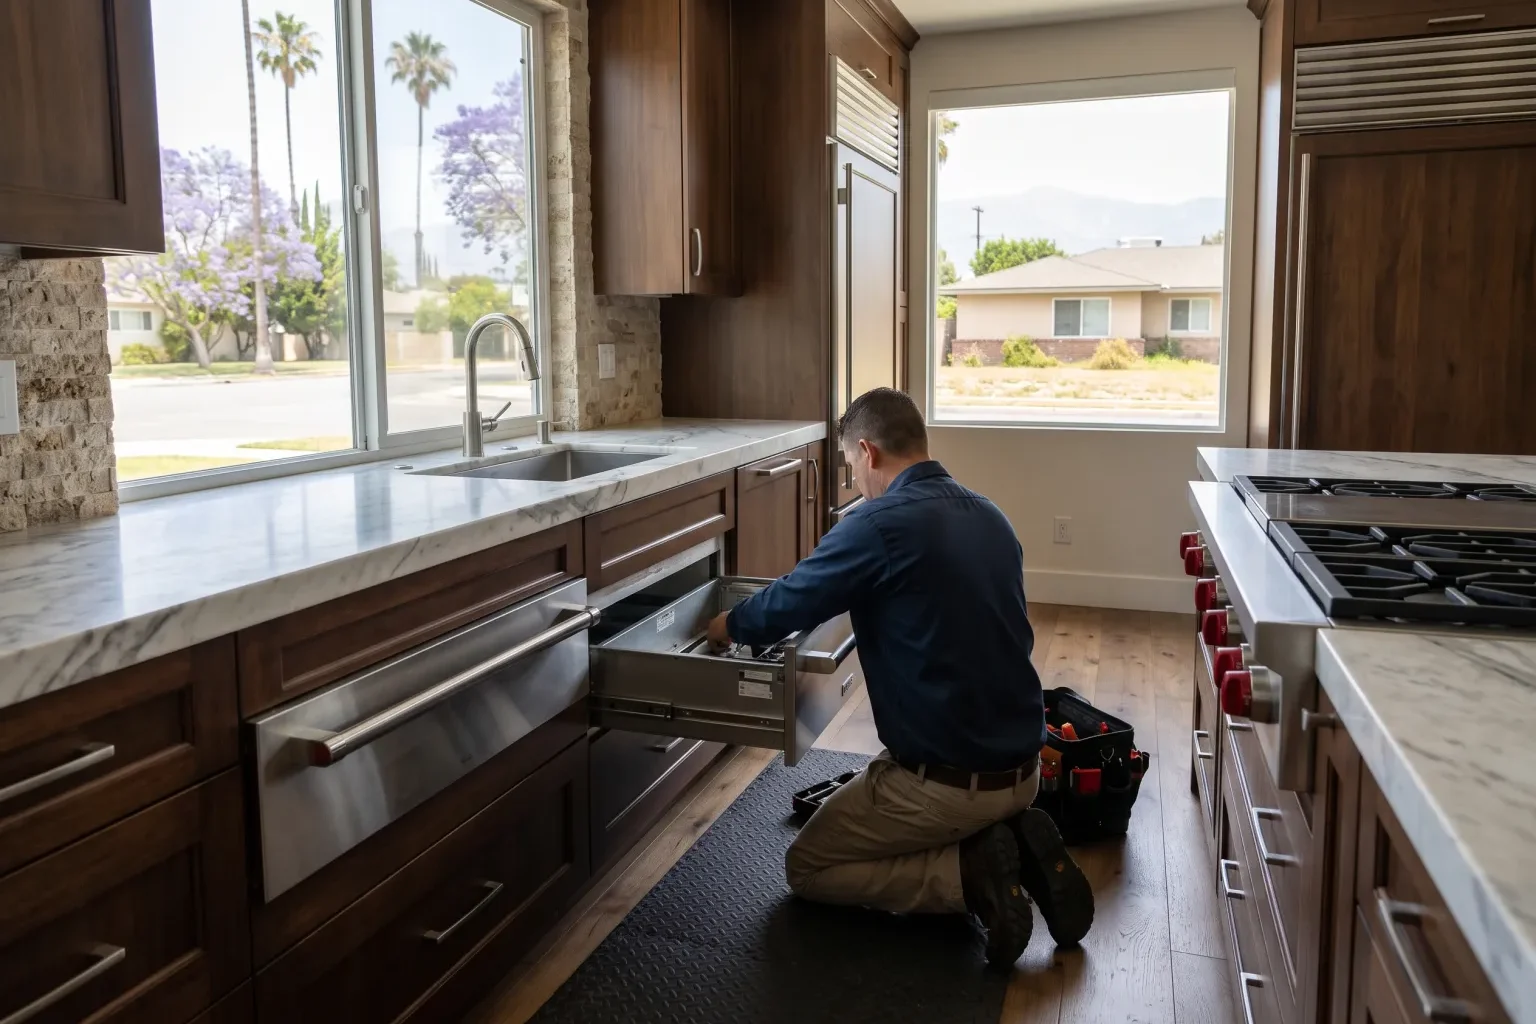



The short answer
Most warming drawer problems come down to a failed heating element, a temperature sensor or thermostat, a control board, or worn drawer glides and gaskets, and nearly all of them can be repaired. On a high-end built-in unit, repair is usually the better choice unless the cabinet itself is damaged or parts are no longer available.
A warming drawer looks simple: a heating element, a thermostat, a control, and a drawer on glides. When one stops holding temperature, dries food out, or won't close properly, a dinner plan can fall apart. We repair built-in and professional-style warming drawers in Carson and nearby South Bay and Harbor-area cities. Many of the kitchens we visit pair a Sub-Zero refrigerator with Viking, Wolf, or Thermador cooking appliances, and we work on the whole lineup. We are an independent repair company with no ties to any manufacturer. Our job is to find the actual fault, explain it plainly, and fix it inside your cabinetry without tearing your kitchen apart.
Issues we fix
Warming drawer failures usually show up in a few predictable ways. Write down what you notice before the visit, including whether it happens on every setting or only some, because that helps narrow the cause quickly.
- Drawer doesn't heat at all, or heats only faintly
- Runs too hot and cooks or crusts food instead of holding it
- Uneven heat, with one side or the back warmer than the front
- Moist or crisp setting no longer makes a difference
- Touch controls unresponsive, flashing lights, or an error indicator
- Drawer sticks, won't close fully, or slides out of line
- Door gasket torn or flattened, letting heat escape
- Burning smell, scorched odor, or visible discoloration
- Circuit breaker trips when the drawer is turned on
- Timer or proof setting not working on models that offer it
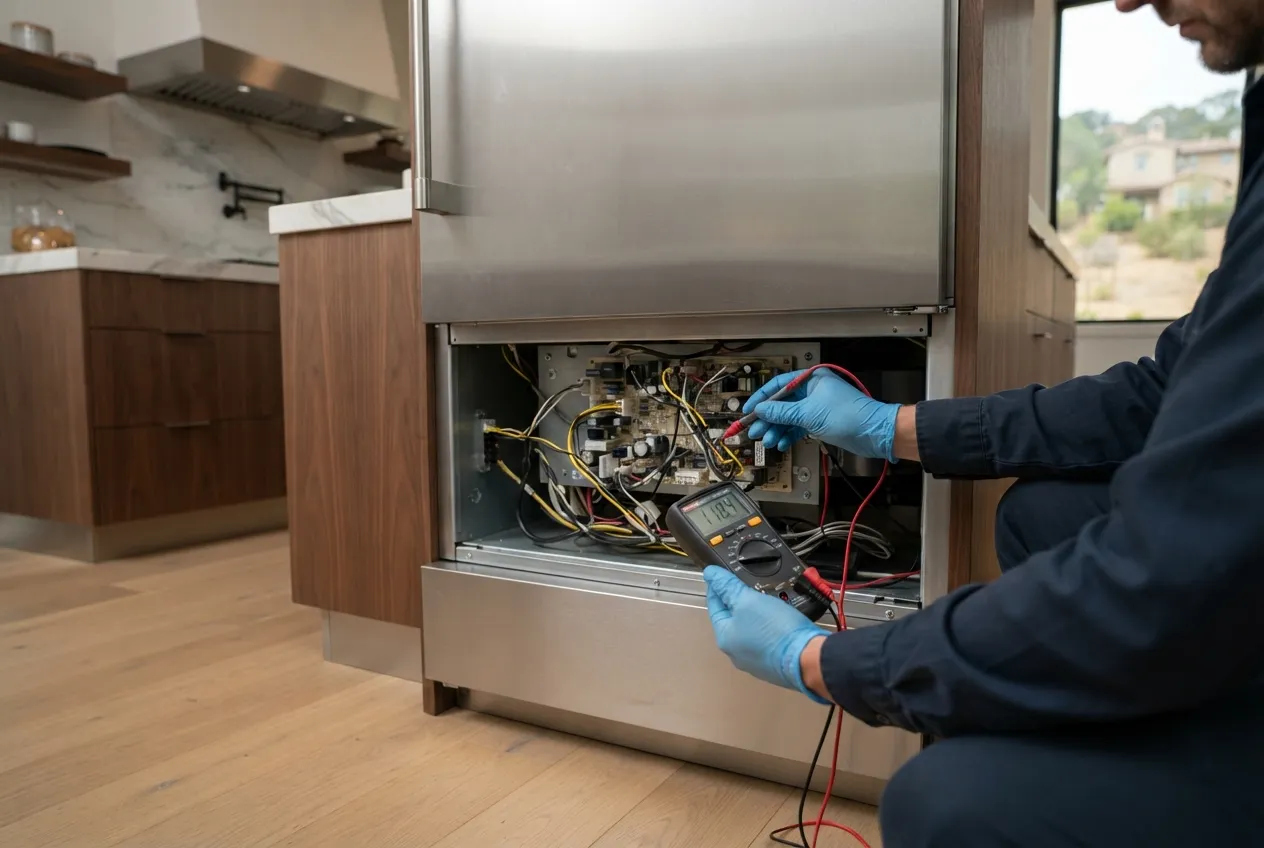
What our technician checks on a built-in unit
We start by confirming the symptom with the drawer running, then test temperature at more than one spot in the cavity. That tells us whether the problem is no heat, too much heat, or heat that isn't spreading evenly.
Next we check power at the unit and test the heating element for continuity and resistance. We test the thermostat or temperature sensor against its expected values and look for loose, scorched, or corroded connections on the wiring harness and terminals. If the drawer has electronic controls, we check the control board and the touch panel for failed inputs or a board that isn't sending power to the element. We also look at the high-limit safety cutoff, since a tripped or failed limit can stop heating completely.
On the mechanical side, we inspect the glides, rollers, and drawer alignment, along with the door gasket and the humidity vent. In flush-mounted installations we check clearances, because a drawer that rubs against cabinetry or a mis-shimmed panel can keep the door from sealing.
How Viking, Wolf, and Thermador drawers differ
Sub-Zero is known for refrigeration, and a Sub-Zero refrigerator often sits a few feet from a Wolf warming drawer in the same kitchen, since both come from the same family of brands. Wolf drawers are commonly built with touch controls and a moisture selector, so control panel faults and humidity settings that stop working are worth checking alongside the element and sensor.
Viking warming drawers appear in both professional-style and more streamlined designs, and depending on the model, controls may be knobs or electronic. On knob-controlled units, a worn thermostat or switch is a common suspect. Heavier drawers that get daily use also put more wear on the glides.
Thermador warming drawers are typically installed flush under wall ovens or beside a range, often with electronic controls. Sensor readings, control board inputs, and the gasket seal are frequent focus points. Across all three, the exact failure depends on the model, its age, and how it's used, so we diagnose the specific unit rather than assuming the cause from the badge.
Tell us what your appliance is doing.
Repair or replace on a high-end drawer
For most premium warming drawers, repair makes sense. The core parts are few, and elements, sensors, gaskets, and glides are usually replaceable without removing the unit from the wall. Replacing a built-in drawer also means matching the cutout, panel style, and finish to the rest of your kitchen, which can be harder than it sounds.
Replacement is worth considering when the outer cabinet or cavity is damaged, when a key part such as a control board has been discontinued, or when several components are failing at once on an older unit. We'll tell you plainly which side of that line your drawer is on before any work starts.
What affects the cost
We don't quote a number before we've seen the drawer, because the cost depends on a few real variables. The first is the fault itself: a loose connection or misaligned glide takes far less time than a failed control board. The second is the part: some are common and quick to source, while others have to be ordered for a specific model. The third is access. Drawers set into custom cabinetry, framed with panels, or tucked under a wall oven may need careful removal and reinstallation to reach the wiring or element, and we take that time to protect your finishes. After diagnosis, you get a clear explanation of the repair before we go ahead.
How a visit works
When you contact us, we'll ask for the brand, the model if you can find it on the frame label, and what the drawer is doing. That lets us bring the most likely parts on the first trip.
At your home, the technician confirms the symptom, runs the tests described above, and explains what's wrong and what it will take to fix. If the part is on hand, we usually complete the repair the same visit. If it has to be ordered, we schedule a return trip once it arrives. Before leaving, we run the drawer through its settings and check temperature and drawer fit so you know it's working the way it should.